I recently set out to remodel our basement level laundry and utility room on a shoestring budget. As you know, basement level mechnical/laundry rooms tend to be the most neglected room of the house. If they’re finished at all (ours luckily was, except for the walls surrounding the furnace and the ceiling), then they tend to be quick finish jobs only. Ours was just that – the old cream walls were full of holes, had poorly taped joints (many weren’t even taped at all), and the 1980’s vintage 12×12 peel and stick tiles were faded, painted, discoloured, and looked hideous. We’re fortunate enough that this room has two nice big windows in it, but, it still felt like a dungeon.
Brightening up the walls was quick and easy, although the patch and compound work to prepare them was significant. We used Benjamin Moore ‘Balitmore Sky’ to add a nice pop of colour to the room.
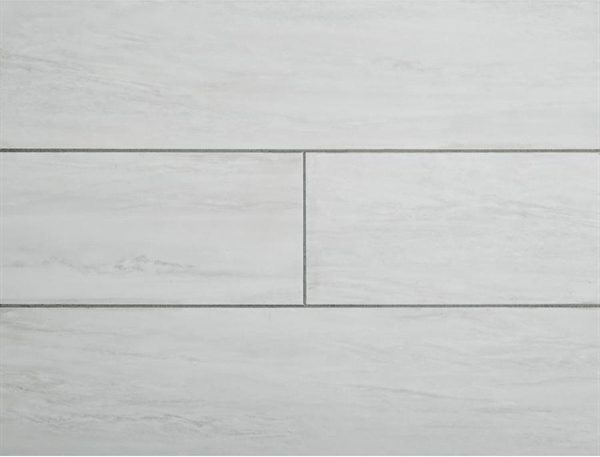
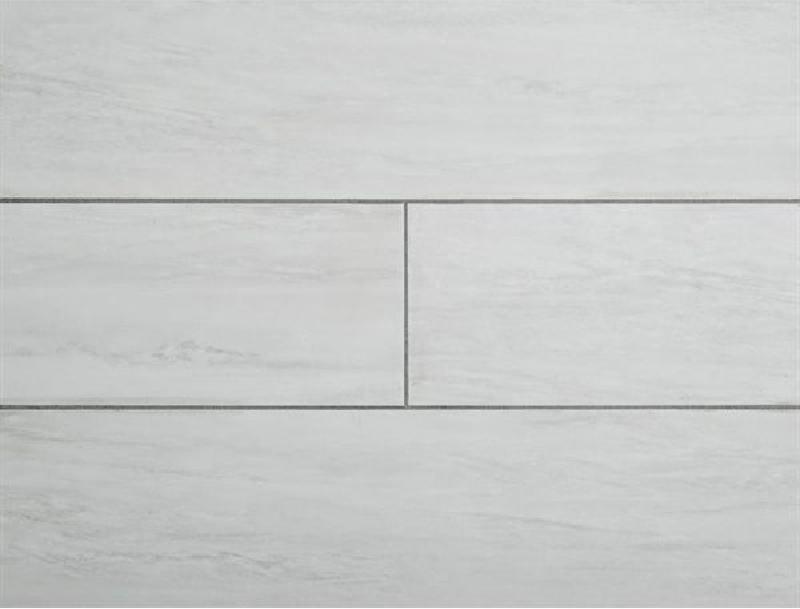
For the floor, I wanted as good as I could get on a shoestring budget. I went with Stainmaster Peel-and-Stick groutable tile in the “White Waza” finish.

This was on sale for $1.49/sq ft (Canadian Dollars). Total cost for all my tile, grout, spacers, and tools needed was about $350. But I wanted this floor to stay stuck down for decades to come, and the reviews I had read on peel-and-stick tile were mediocre when it came to the strength of the stick. In my case, since this was a basement level laundry room, I also had to deal with a floor that was graded to a drain in the centre of the room. The grade of the floor slightly exceeded the recommended grade for the tiles.

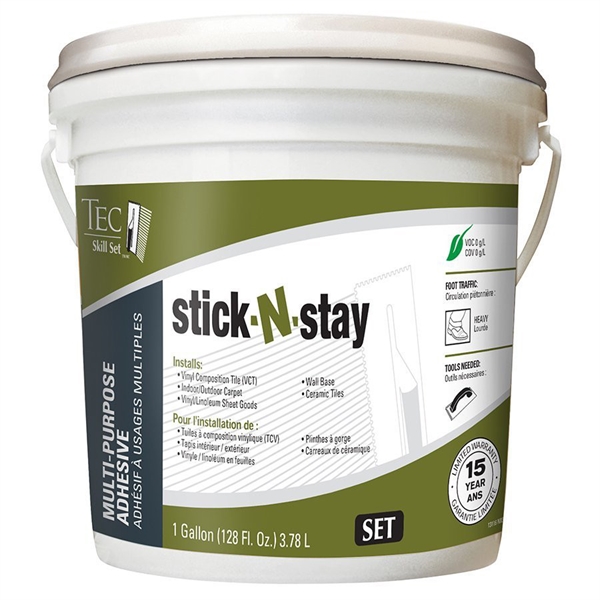
I decided to go against the instructions, void my tile warranty, and add an extra strong floor adhesive into the plans. I picked up a tub of TEC Skill Set Stick-N-Stay Multipurpose Adhesive. This was the most expensive in the floor adhesive section at Lowes, and seemed to promise outstanding strength in all conditions.
Room Prep
I would be installing over my existing 12×12 vinyl tiles. They’re the really, really thin flexible type. I decided on this route because those old tiles had adhered perfectly to the floor for several decades (long before my time in the home). Since the Stainmaster tiles are so thin, I wouldn’t be increasing my floor depth very much at all to just install on top of them. I usually don’t like taking this approach (covering up the old with the new), but I felt these tiles were an excellent foundation over the cement floor. If they had been peeling up or having problems then I’d have removed them, but I knew they were a good base and I wouldn’t be dealing with the unknown of installing right on the concrete. Though to be honest, when I saw how well the adhesive held the new tiles, I would have zero concerns doing this directly on concrete and will probably do our washroom that way next. Installing over the existing tiles also gave me the advantage of not having to re-square the room; the existing lines were perfect, and I would follow those to keep my grout lines straight to the room, not to the walls.
Tile Installation
I installed two rows at a time, the full length of the room. This gave me enough time that once I had spread all my adhesive, I could go back to the start of the row and it was tacky enough to start installing my tile. For spreading the adhesive, Lowes sells a spreader which is specifically for vinyl tile glue. You don’t want to leave massive notches in the glue like you would in a traditional tile thinset – just nice fine lines is all.

After setting each tile in the adhesive, you have some wiggle time before it starts to set. Plenty of time to get your spacers in, lay your tile, make any fine adjustments, and move on. Don’t worry about your spacers curing to the adhesive – I would lay a few tiles at a time, and go back and pop out the spacers on the first one just fine. You then need to roll each tile to get it to set firmly in the adhesive. I used my ab roller! This was an easy way to put a solid 160lbs of force against the floor without having to dirty my wife’s kitchen rolling pin (which seems to be what most use!). As a bonus, I could skip ab day at the gym.
For the remainder of the first day, the tiles would still have just a little bit of give to them if you pushed hard enough. By the next morning, things were hard as a rock!
Cutting the tiles was also a breeze! Using a straight edge and a utility knife, just give the tile a couple quick scores and it’ll snap cleanly along your line. Even the most complex of cuts were a total breeze.
Since I’ve added the extra adhesive layer here, we’ve gone off the instructions in the tile box at this point. Don’t grout right away, give it a good 24+ hours to cure and harden.
Grout Time

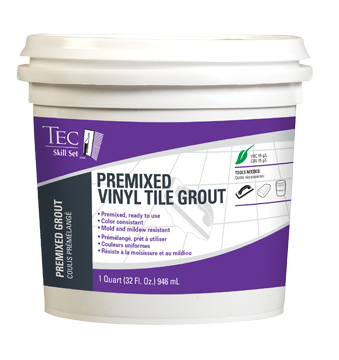
This is where most people go wrong and become unhappy with the groutable tile choice. Do not use regular grout. Yes, even the salesman at Lowes had no idea what he was talking about until another salesman saw that he had the wrong product in my cart and corrected him. There’s grout that designed specifically for vinyl tiles – that is what you want! Here I went with TEC Skill Set Premixed Vinyl Tile Grout. This is a sanded acrylic grout that’s more flexible than a traditional cement grout, and should also adhere better to the vinyl tile and my old vinyl tile base underneath it.
I laid my grout with a small putty knife to keep it as close to the seams as possible and make cleanup nice and easy. Washing was done with a standard grout sponge from Lowes and a couple buckets of water. My second bucket of water was for the final wash – I kept it cleaner and both often.
Closing Remarks
I’m glad I went the extra mile with this one and laid a floor adhesive base to install my tiles into. Sure, it made the project take 10x as long, but I’m much more confident that the flooring will stand the test of time. The tile looks great and continues to surprise people that it’s such an inexpensive floor! It’s exactly what I wanted in the laundry room – as good as I could get on a shoestring budget (nobody spends much time in the laundry room, it wasn’t a room that needed top quality finishes that would hurt my wallet). Being a basement level room, the floor also doesn’t have the traditional cold feeling that you’d associate with tiles in a basement (this is the first thing every comments on after seeing it it seems!).
It was the first floor I had ever laid and it was easy enough that literally anyone can do it. With lots of traffic after the last month while we finish up reno in that room, the floor has continued to adhere with no tiles popping up, cracked grout, or the like.
Should my view of this product change after it’s been more heavily used, I will definitely update this posting with details! But for now, a little extra effort on the adhesive side seemed to mitigate the feedback you’ll find in any bad reviews out there where people say the adhesive on the tiles can sometimes pop-up.
